To understand how to get email with a domain name, we need to deep dive on how an email extension matches its correspondent domain and how to set it up properly.
This article will guide you through everything you need to know, from why it’s important to how you can set it up using Openprovider, and tips to manage it with ease.
Why use a custom domain email address?
Freelancer launching their own web design studio, IT agency and hosting providers set up custom domain email addresses to resell to their customers, often in bundles with the domain themselves.
A custom domain email also supports a consistent and trustworthy brand experience across all customer touchpoints, yet, as we’ll see later common service limitations become a hassle when selling at scale.
Branded email addresses allow businesses to:
- Build trust
A branded email tells your customers you’re established and credible. It reassures them that they’re dealing with a real business, not just an anonymous address.
- Reinforce the brand messaging
Every time you send an email, you’re promoting your domain. It becomes part of your brand identity, just like your logo or website.
- Ensure consistency
Custom domain email addresses allow everyone in your team to follow the same format (e.g. name@company.com), making your communications more consistent and organized.
- Increase deliverability
Emails from a branded domain are less likely to be marked as spam. That means messages are more likely to land in the recipients’ inboxes, not their junk folders.
- Grow with the business
As the team expands, multiple new users under the same domain keeps things organized and scalable.
Setting up your custom email address: step-by-step guide
Setting up a custom domain email address is an easy process that involves domain selection as starters, all the way through the full email configuration.
Registering the domain name
Your email identity starts with the right domain.
If you already have one, you can jump to the next step. If not, you can choose one from over 1,900 TLDs (top-level domains) or, even better, access wholesale price listing via these membershipsto save more money.
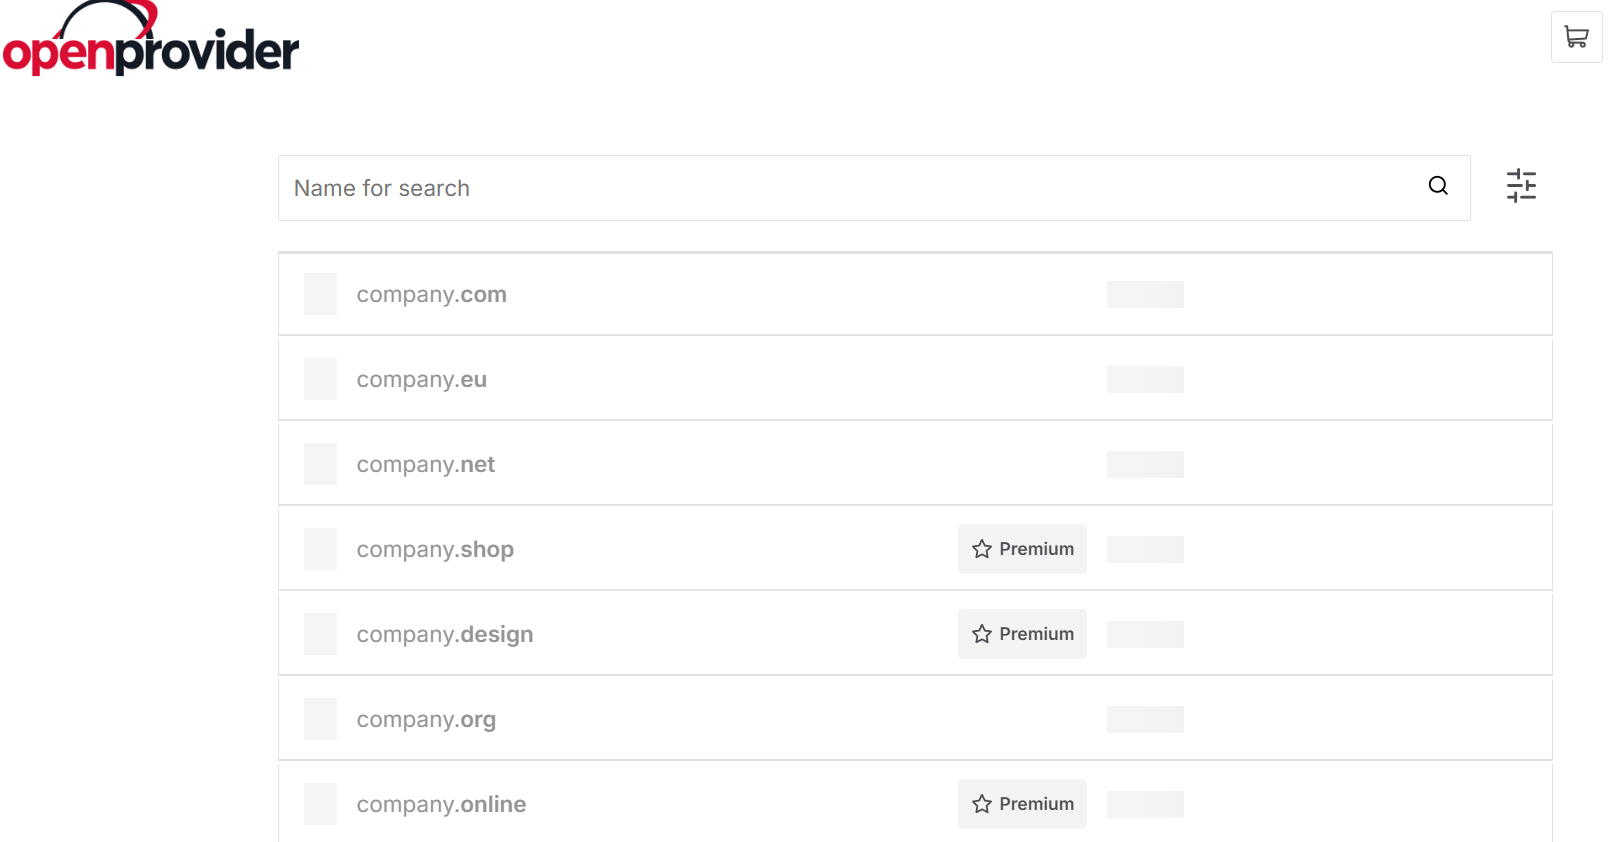
The domain name and extensions can include geo, industry-specific, and generic extensions: pick a domain that aligns with your brand and is easy for customers to remember and spell.
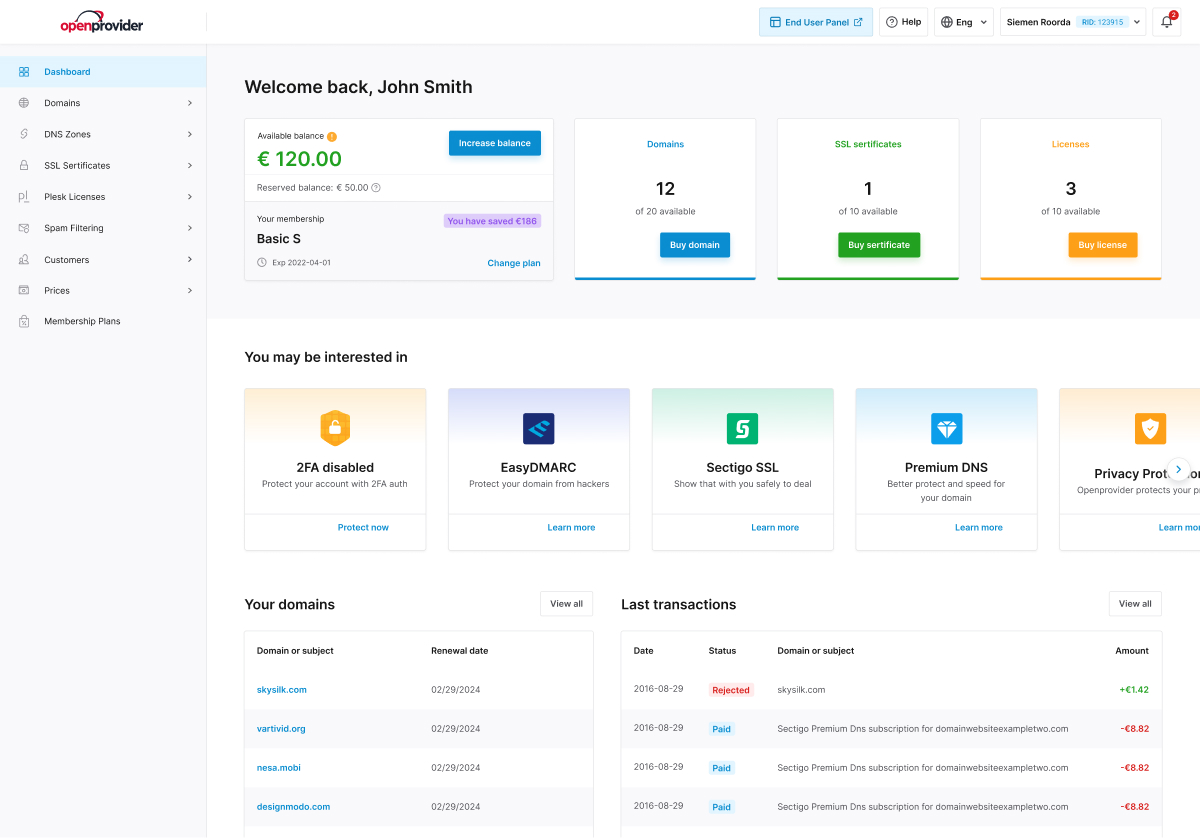
Accessing domain settings in the Reseller Control Panel (RCP)
Once your domain is active, sign up and log into your RCP account.
The dashboard lets you manage your domain portfolio, DNS settings, and connected services. Our platform was built with efficiency in mind so, even if you’re handling hundreds of domains, you’ll find what you need in a few clicks.
Updating dns records
To route email through your domain, you’ll need to add or update DNS records—specifically the MX (Mail Exchange) records.
If you’re using an external email hosting service, they’ll provide the correct MX records. You may also need to configure SPF, DKIM, and DMARC to improve security and deliverability. These are standard records that help prevent your messages from being flagged as spam.
Choosing the email hosting provider
Openprovider offers business email solutions to pair up with registered domains.
Furthermore, it connects with trusted providers like Google Workspace or Microsoft 365, Mozilla Thunderbird and others.
This allows you to use your own domain and offer full-featured email, calendars, storage, and more.
Mandatory validation of your domain ownership
Once you register a new domain or update the registrant contact details, ICANN requires you to verify the associated email address.
This is a mandatory step to keep your domain active.
You’ll receive an automated email from Openprovider with a confirmation link: make sure to click it within 15 days, or your domain may be temporarily suspended.
This verification is not part of the email hosting setup itself, but it’s a critical compliance step you can’t skip. You can read more about this process here.
Creating your email accounts
Once your domain is linked to your email provider, create your desired mailboxes.
Start with info@yourdomain.com, support@yourdomain.com, or yourname@yourdomain.com depending on your needs. Keep naming conventions consistent across your team.
Testing it all
Send and receive a few test emails. Confirm that your MX records have propagated, and verify that your emails don’t end up in spam folders. Tools like MailTester and MXToolbox can help you validate setup and troubleshoot any delivery issues.
Managing and scaling
As your team grows, you can add new users, set up email aliases or groups (like sales@ or billing@), and manage permissions through your email host.
You can also manage all domain-related tasks via Openprovider’s RCP or automate workflows using our robust API, which supports thousands of domain transactions daily.
This setup is straightforward, but if you’re migrating from another provider or handling bulk operations, Openprovider offers fully assisted domain transfers and dedicated support to make the process seamless.
Tips for managing your custom email
Once your custom email is up and running, it’s essential to manage it effectively to ensure smooth communication, security, and scalability as your business grows.
Below are key practices that help you stay in control and make the most out of your setup.
Security is the priority
Email remains one of the most targeted entry points for cyberattacks.
Protect your domain email with two-factor authentication (2FA), strong password policies, and regular account audits. If you’re using third-party email hosting, ensure it supports advanced features like spam filtering, phishing detection, and secure transport protocols.
Keep your dns records up to date
From time to time, changes in your DNS settings may be required, especially if you switch email providers or adjust your domain configurations.
Monitor your MX, SPF, DKIM, and DMARC records regularly to ensure your email deliverability stays high and your domain reputation remains intact.
Manage aliases and forwarders smartly
Instead of creating separate inboxes for every function, use email aliases (like support@yourdomain.com) that forward to one or more real inboxes.
This reduces overhead and helps centralize communications, especially for small teams.
Separate user roles and access rights
If your team is growing or you’re managing email accounts for clients, assign roles and limit access appropriately.
Avoid shared inbox credentials where possible. Use user permissions and group settings to create secure and maintainable structures.
Monitor usage and storage
Depending on your provider, mailbox storage can be limited. Make it a habit to check mailbox usage and archive old emails where needed.
Many email hosts allow automated archiving or linking to cloud storage, which can keep your inbox fast and organized.
Pro tip
Email services often have subscription limits, including a certain number of emails per day (which can quickly run out for B2B businesses) and tight memory allowance in email folders.
In Openprovider, we offer large memory space and custom solutions for your reseller needs. Check them out here.
Prepare for scaling
If you’re planning to grow, choose email providers that let you add users, scale storage, or integrate with CRMs and other tools.
Openprovider customers often future-proof their operations by combining scalable domains with marketplace tools like SSL, DNS, and API integrations.
Conclusions
A custom domain email address is one of the simplest and most effective tools to boost your business credibility, reinforce your brand, and keep your and your clients’ communications consistent. Through Openprovider, setting up and managing your custom domain email is seamless: get started from the Reseller Control Panel.